Documentation
Business WordPress Theme & Consulting Theme with Elementor
Start
Follow these steps to install WordPress on your server:
- Secure a domain name and hosting that supports WordPress.
- In your hosting control panel, create a new database and user. Assign full permissions and note the credentials.
- Download the latest version of WordPress.
- Upload the WordPress ZIP file using an FTP client or your hosting file manager, then extract the files into your root directory.
- Access your domain in a browser and complete the installation process.
Installation
- Install WordPress on your server.
- Download all theme files from Themeforest via your account's download section.
- Extract the ZIP package using your preferred unzip tool.
- Open the Documentation folder and view this file for detailed instructions.
- If using WooCommerce, install it from WordPress.org. Ignore WooCommerce-related import errors if not needed.
- Upload and activate our theme via Appearance > Themes in your WordPress dashboard.
- Click on "Begin installing plugins" to install and activate all required plugins.
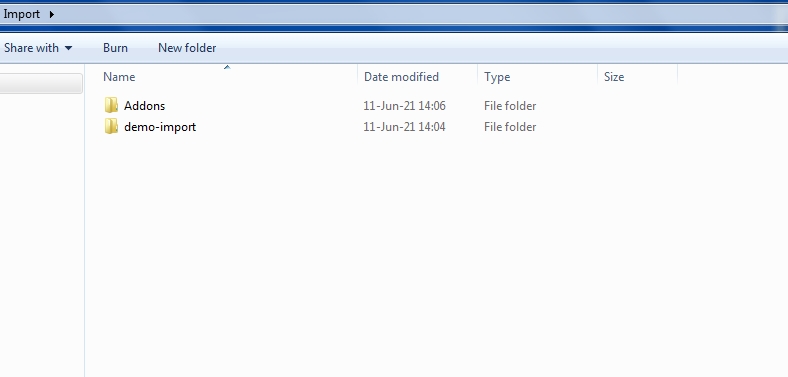
- Navigate to the Import folder and open the demo-import folder for demo data files.
- Use the One Click Demo Import plugin to import:
- Content:
import.xml - Widgets:
widgets.wie - Redux Options:
redux.json(Enter asibu_settings as the option name)
- Content:
- After import, set the Home and Blog pages via Settings > Reading.
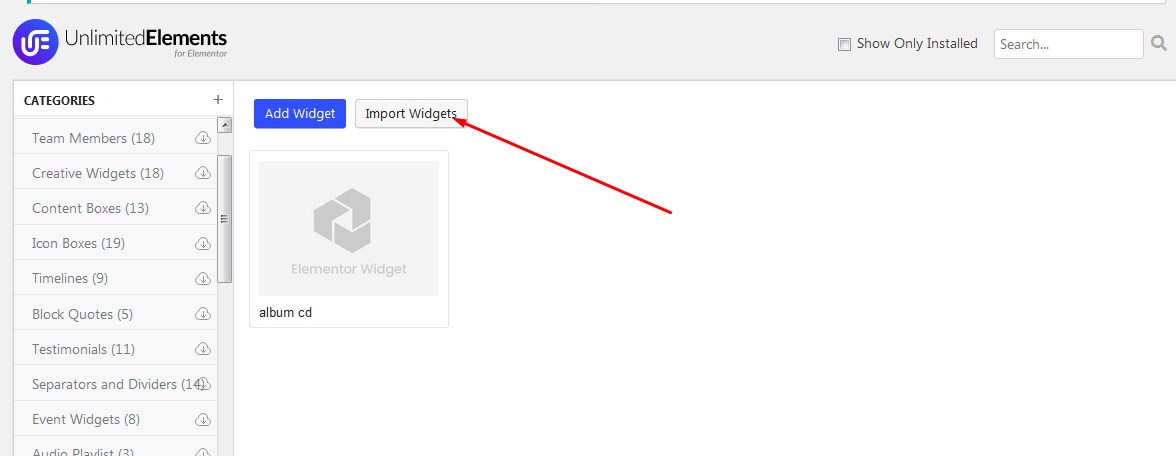
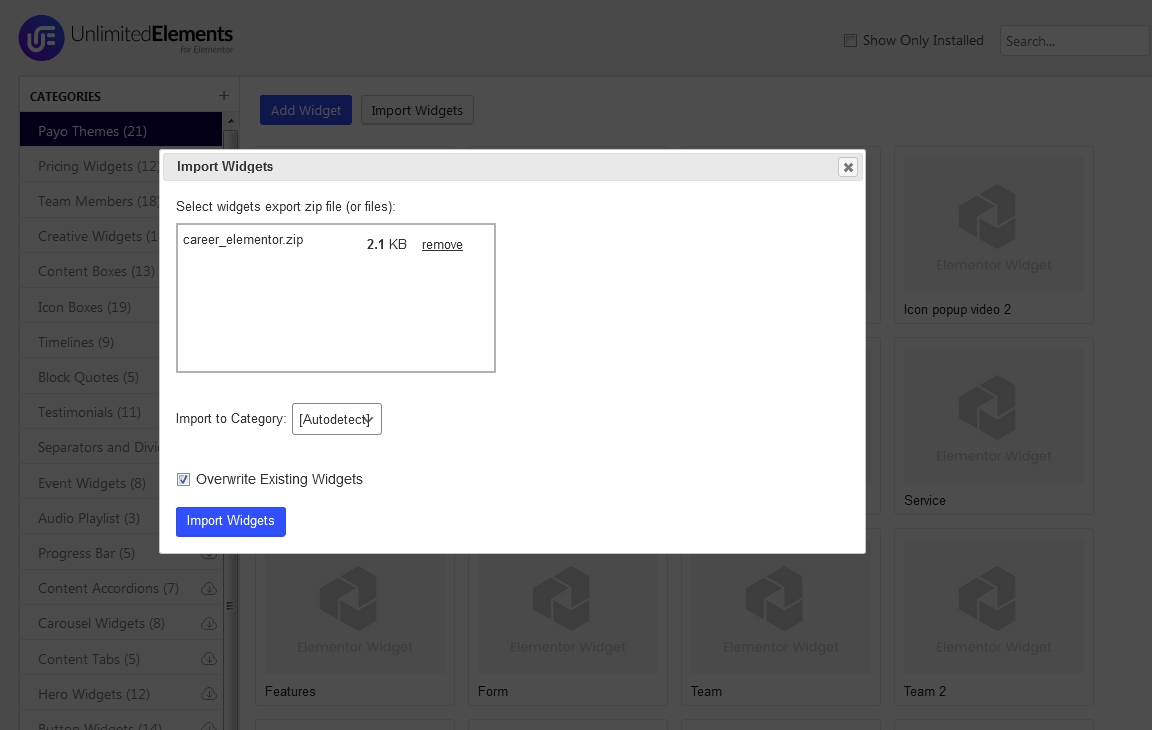
- NOTE: If server limits or execution time prevent full plugin installations, manually upload missing files from the Import - Addons folder.
For image hover effects, install and activate the plugin: WC Secondary Product Thumbnail.
Demo Import
- Ensure all required plugins are installed and activated.
- Use the One Click Demo Import plugin to import demo data from the demo-import folder:
- Content:
import.xml - Widgets:
widgets.wie - Redux Options:
redux.json(with asibu_settings as the option name)
- Content:
- After import, set your Home and Blog pages under Settings > Reading to match the demo layout.
- The theme includes an Elementor background gallery slider.
Setup
After installing and activating the theme (or child theme), complete the following steps:
- Install and activate all required plugins.
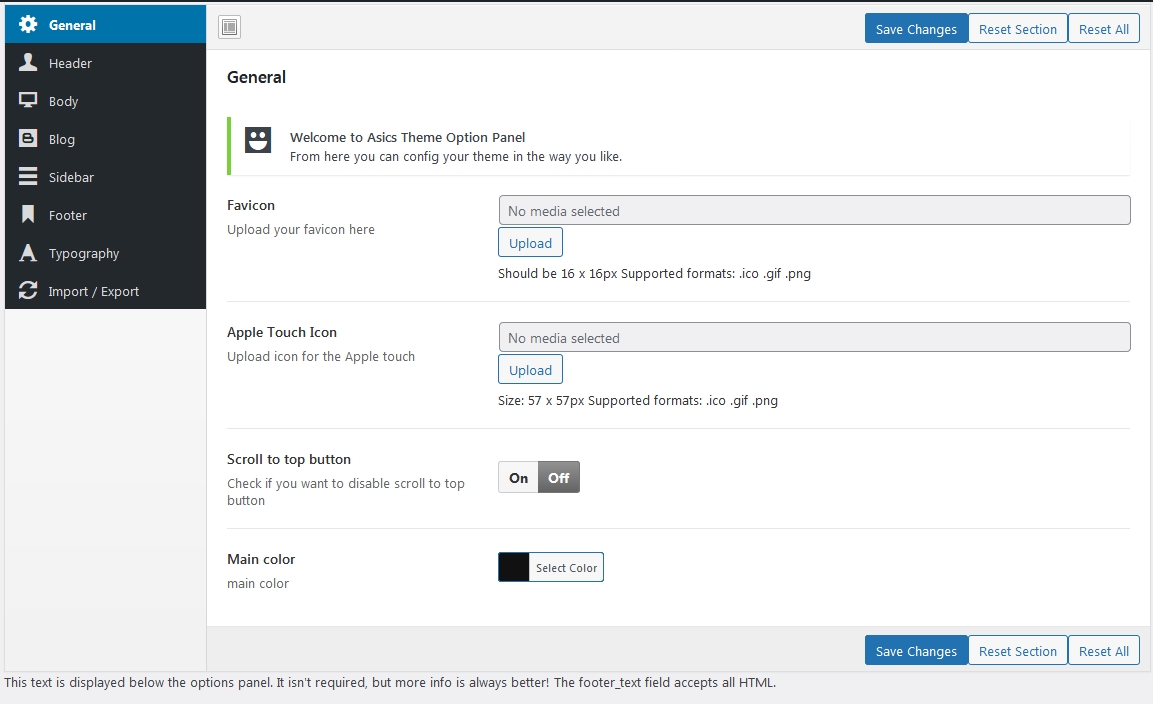
- Open Creus Options and click the Save button to load all theme settings.
General
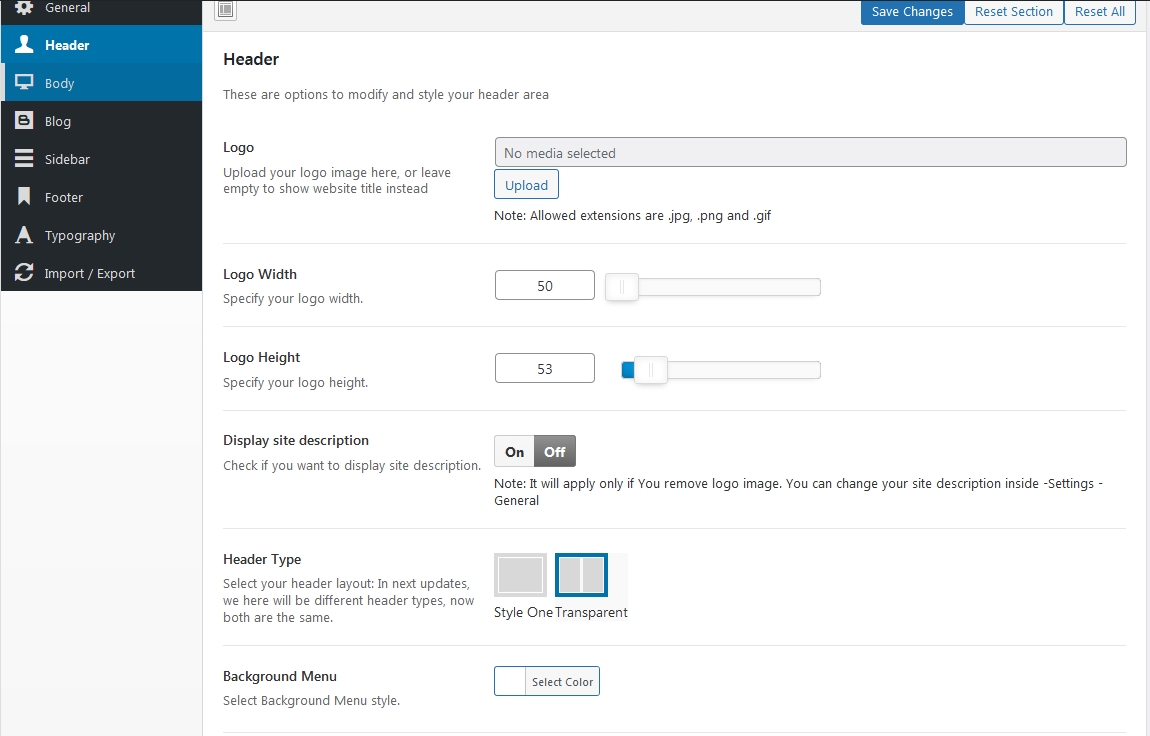
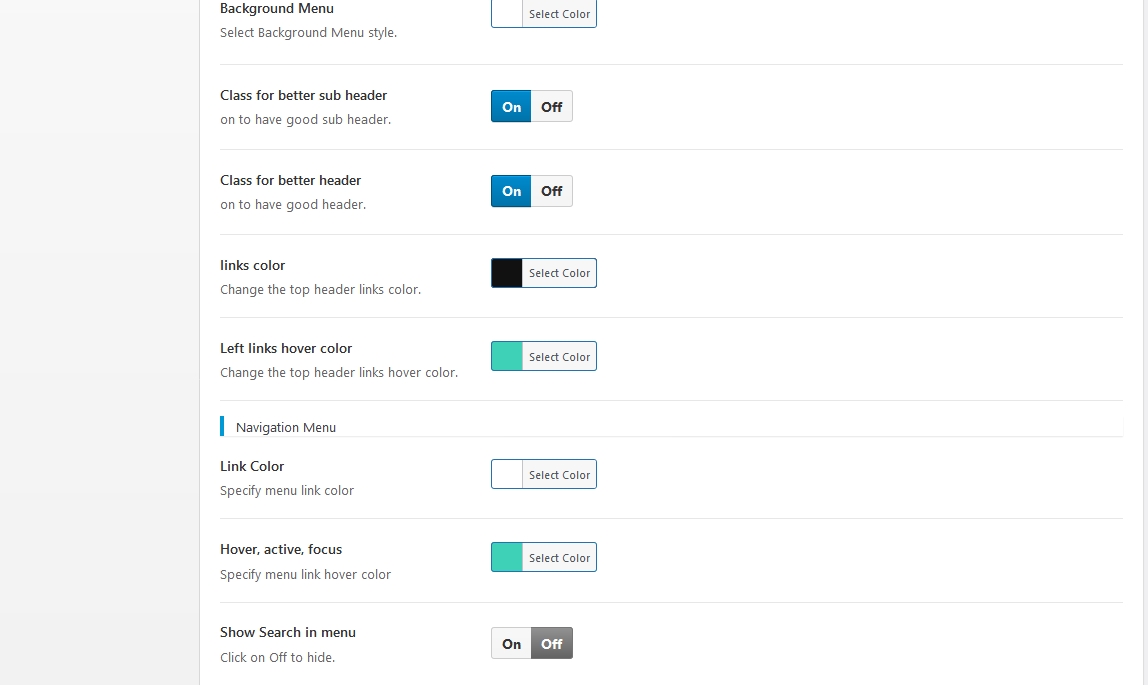
Header
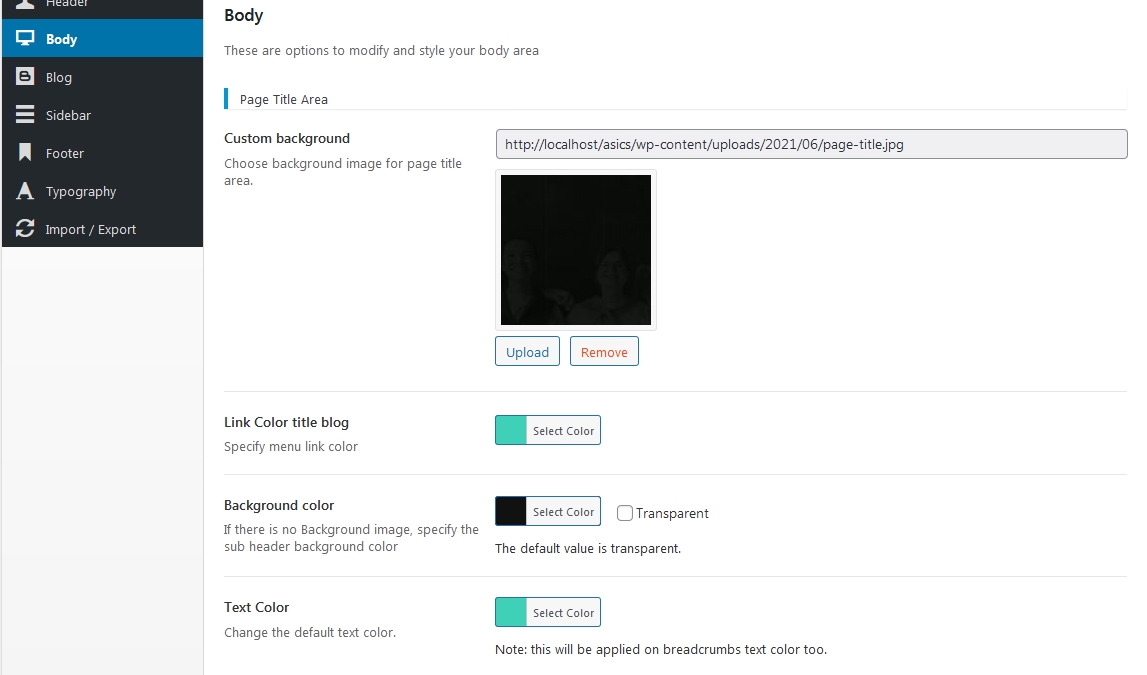
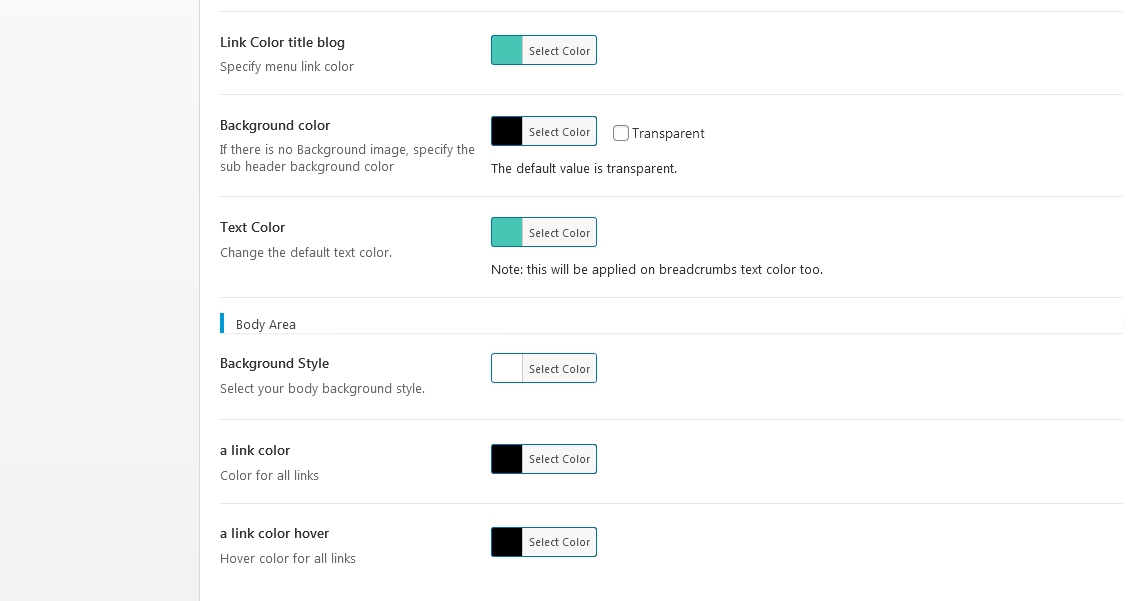
Body
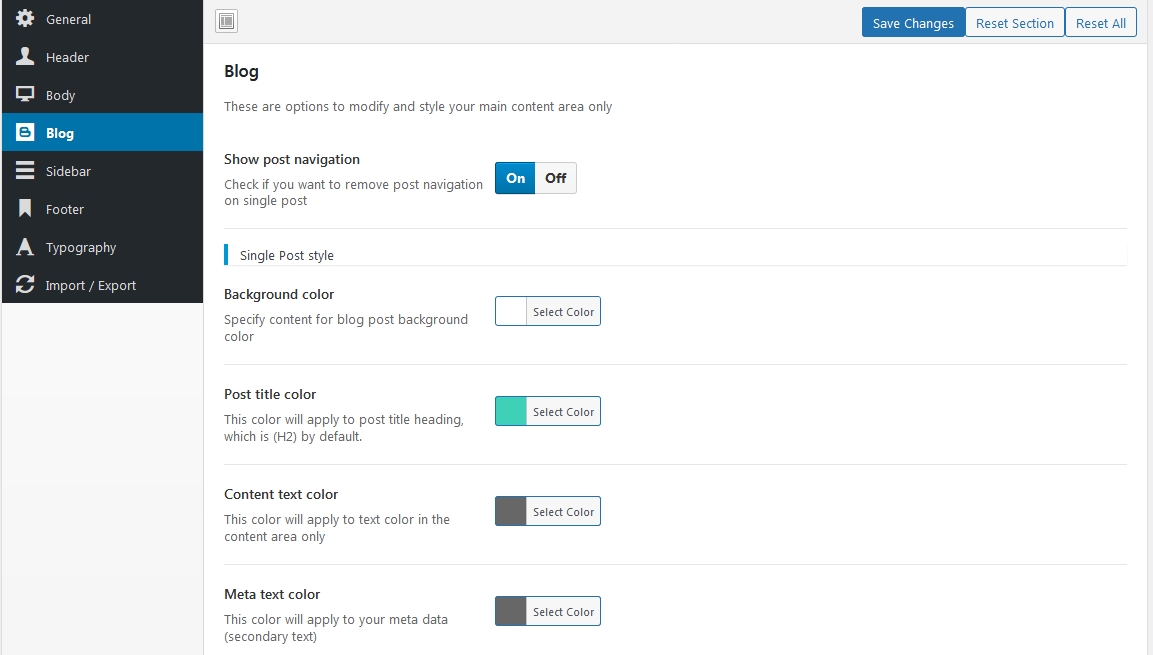
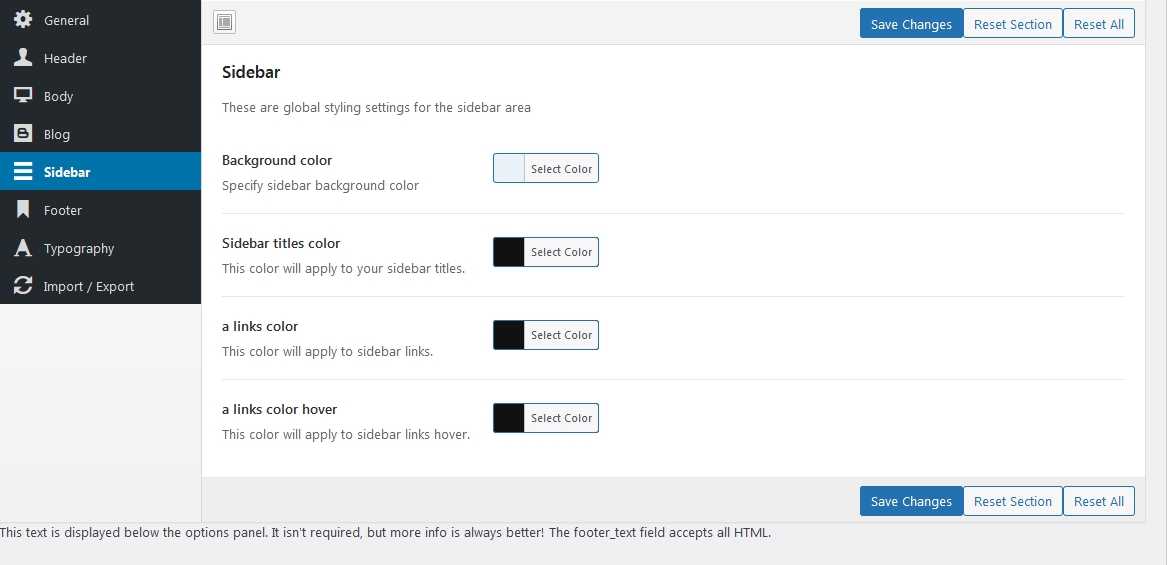
Blog & Sidebar
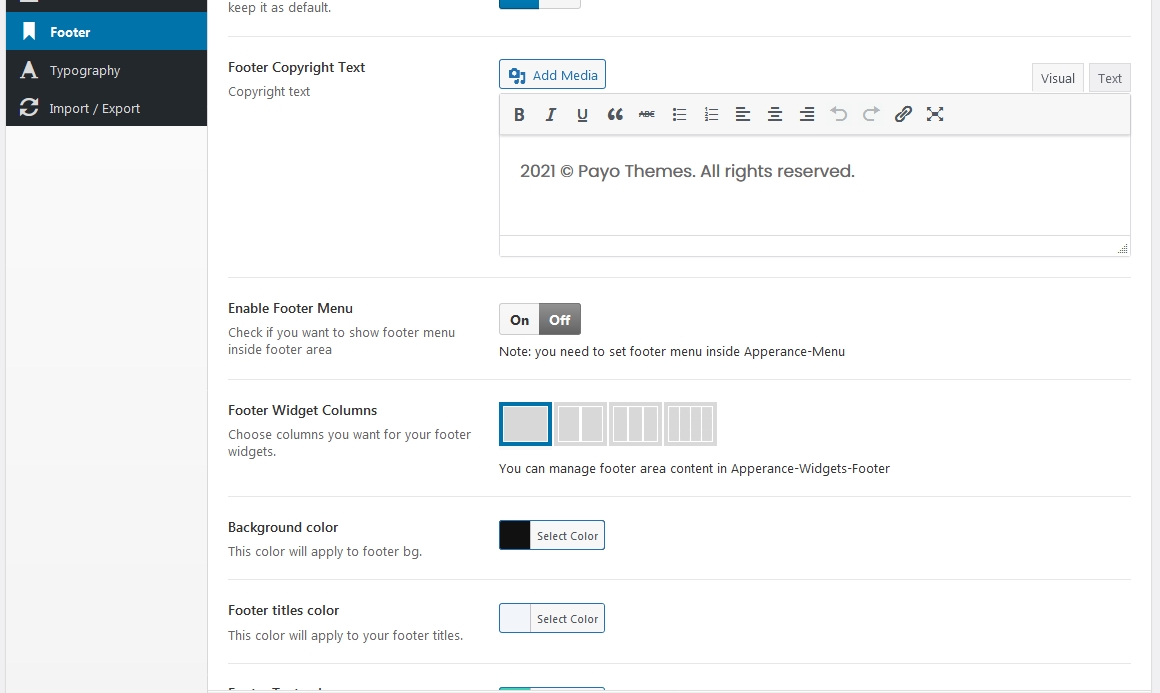
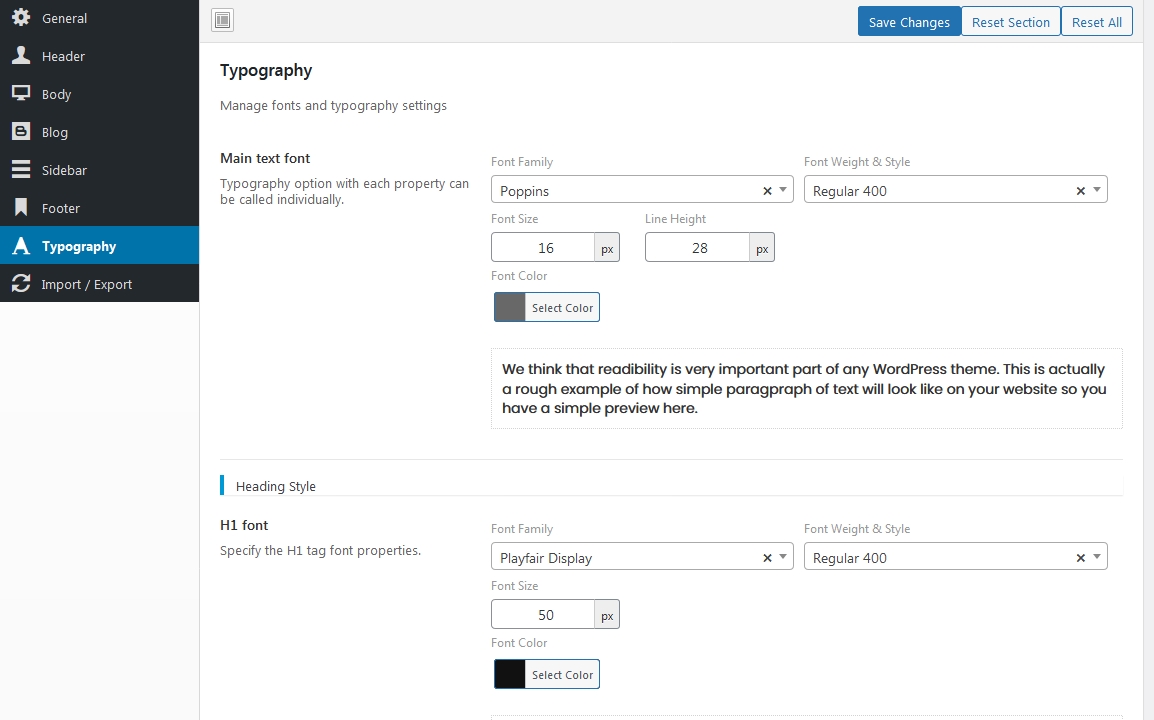
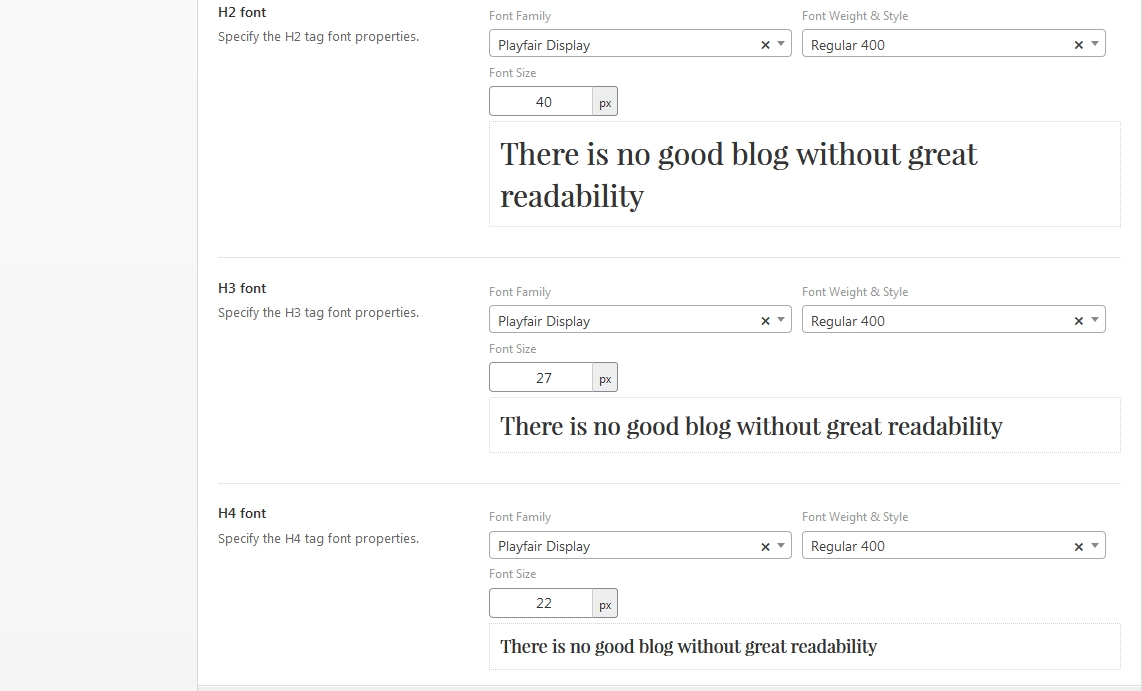
Footer & Typography
Customize footer options (social icons, follow text, copyright, widget columns) and adjust typography settings as needed.
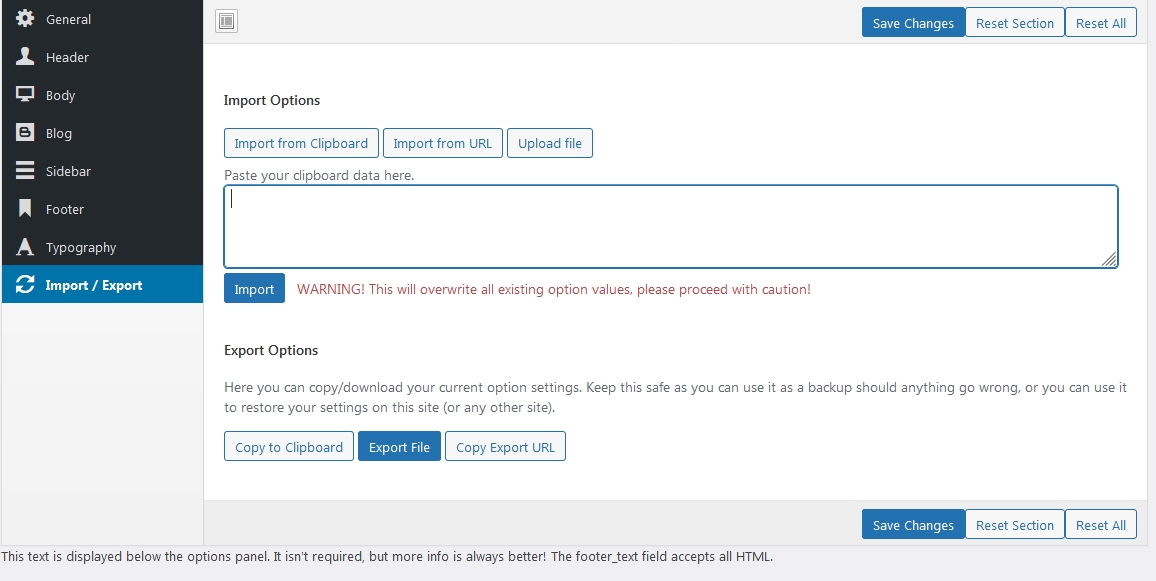
Import/Export
Use the Import/Export feature to quickly apply demo settings. Copy the contents of redux.json from the Import folder, paste it into the Creus Options Import/Export section, and click Import. You can also export your settings as a backup.
Update
Before updating, back up your site using a plugin like Duplicator or any other backup tool. To update the Creus WordPress Theme:
- Back up your entire site.
- Using an FTP client (e.g., WinSCP, Core FTP, FileZilla), rename your existing
asibutheme folder (for example, to_asibu). - Upload the latest version of the theme.
- For any customizations, use a child theme instead of editing the parent theme.
What is Inside
The theme package downloaded from Themeforest contains:
- Documentation
- Creus WordPress Theme
- Creus Child Theme
- Import folder with demo data and additional files
FAQ
Q: My front page doesn’t match the demo after importing the XML file.
A: Ensure you have imported all required addons for the Unlimited Elements Plugin as described in the Installation section.
Q: I get a "Missing style sheet" error when installing the theme.
A: This error appears if you attempt to install the entire package. Extract the ZIP file and install only the asibu.zip file.
Q: I receive errors during installation or my links expire.
A: This may be due to server limits. Contact your hosting provider to increase upload limits and execution time. You can also try adding the following directives to your .htaccess file (before the # END WordPress line):
php_value memory_limit 256M
php_value upload_max_filesize 64M
php_value post_max_size 64M
php_value max_execution_time 300
php_value max_input_time 1000
Q: How do I edit the header and footer?
A: Our demo uses Elementor for header and footer customization. Please use Elementor to modify these sections.
Q: I can’t upload the XML files.
A: This issue is likely due to limited server resources or an outdated PHP version (below 5.6). Contact your host to increase PHP limits.
Q: How do I change the footer social icons?
A: Open the Creus Options, navigate to the Footer section, toggle the option to enable social icon editing, and add your links.
Q: Why are some addons locked?
A: The locked addons are part of the free Elementor version. However, all addons used in our demo are created by us and are available for free with the Creus theme.
Q: I need help but the instructions are unclear.
A: We value our customers. If you need assistance, please submit a support ticket via Themeforest or contact us directly with your website URL, purchase code, and a description of the issue.
Q: My support period has expired.
A: Standard licenses include 6 months of support. To continue receiving support, consider extending your support period to 12 months. For details, refer to the Envato Item Support Policy.
Q: I received an error stating "The package could not be installed. The theme is missing the style.css stylesheet."
A: This error occurs when you attempt to install the entire package. Extract the ZIP file and install only the asibu.zip file.
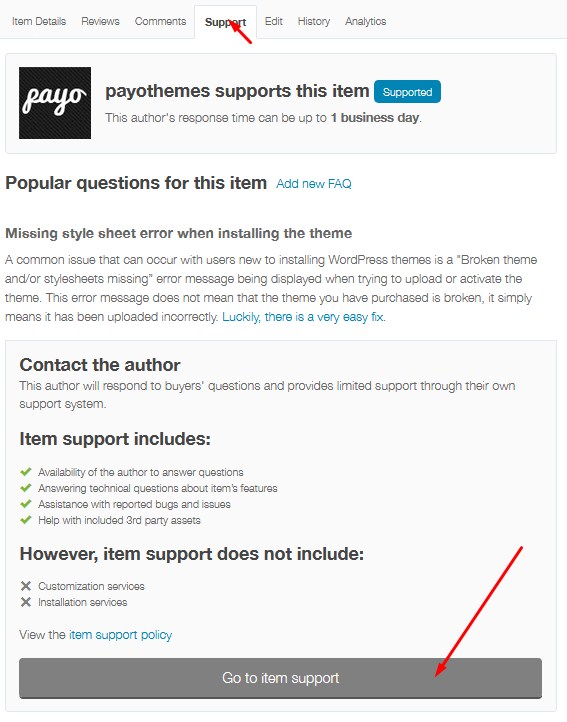
Support
If you require support, please visit our Themeforest page for Creus and click on the Support tab.
Credits
Review Creus Theme
If you enjoy our theme and support, please consider rating our theme. Your 5‑star rating and positive review on Themeforest will help us continue to improve our products and services.
To leave a review, log in to your Themeforest account, navigate to the Downloads section, and rate the Creus theme.